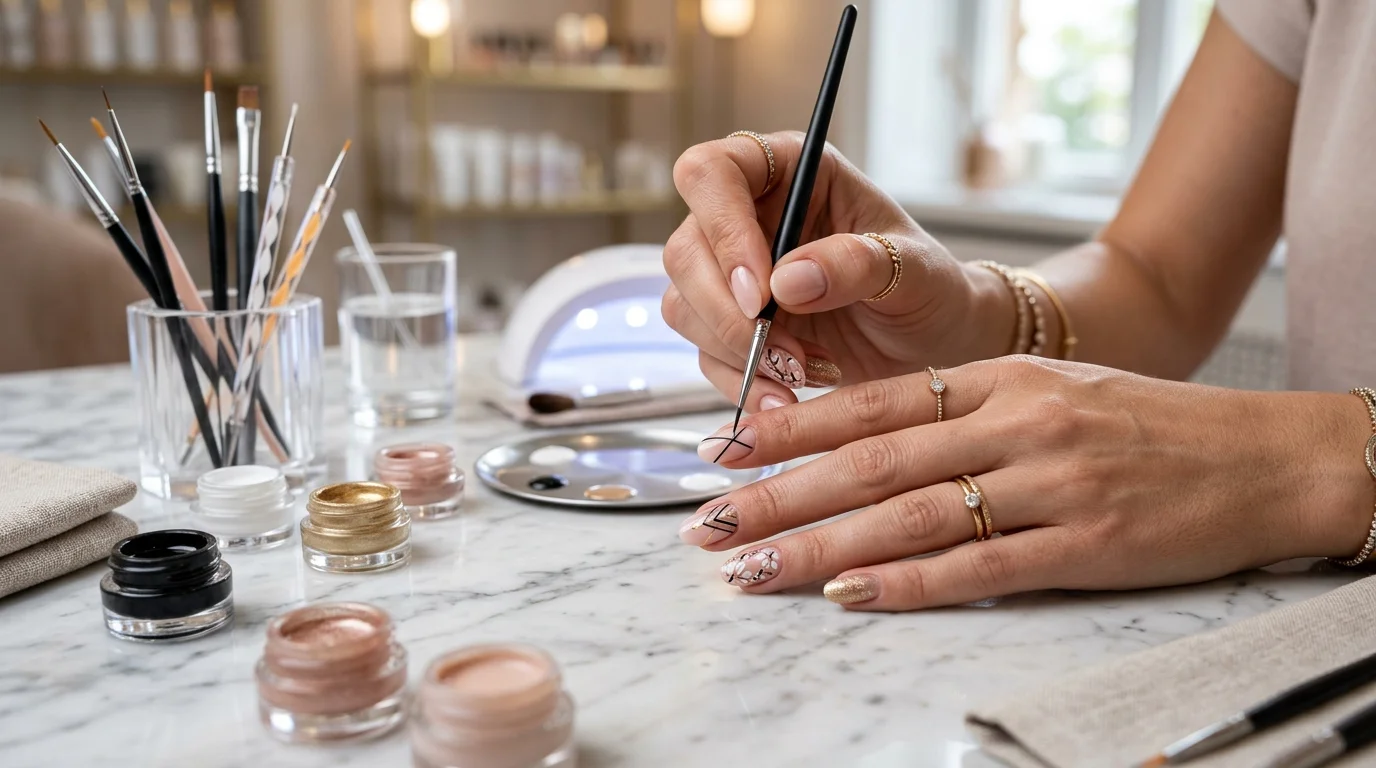
Moving away from basic stamping plates or repetitive nail stickers opens up an entire world of creative freedom. Nothing matches the custom beauty of freehand work, which is why learning the skill of brushing nail art has become the ultimate milestone for DIY beauty enthusiasts. Hand-painted designs give you the flexibility to match your mood, experiment with textures, and craft miniature masterpieces right on your fingertips.
If you are a beginner looking for the best nail art brushes for beginners, taking your first steps can feel a bit overwhelming. The sheer variety of tools on the market can make it difficult to know where to begin. However, once you understand how the right nail art guide can simplify the process, you will realize that beautiful, freehand manicures are entirely within your reach. This comprehensive guide will walk you through the essential tools, advanced brush architecture, step-by-step techniques, and critical maintenance tips to help you outshine the competition.
The Anatomy of a Perfect Manicure: Different Types of Nail Art Brushes and Their Uses
To create stunning hand-painted designs, you must first understand the specific types of nail brushes available to you. Using the wrong tool for an intricate design is the most common reason beginner manicures turn out messy. Matching the specific nail art brushes to their intended function changes everything.
Liner and Striping Brushes for Intricate Lines and Geometric Designs
When it comes to creating a geometric line nail art design or delicate, flowing swirls, a high-quality liner brush or striping brush is an absolute necessity. These tools feature long, incredibly thin hairs that hold a reserve of polish, allowing you to pull long, continuous lines without running out of product mid-stroke. They are the secret behind the crisp, professional linework you see on social media.
Flat, Gel, and Angled Brushes for Flawless French Tips
If you love a clean look, an angled nail art brush or a flat brush is your best friend. A flat gel brush is designed to smooth out thick gel builder products evenly across the nail plate. Meanwhile, the sharp angle of a detailing brush or an angled tip allows you to swipe the perfect smile line, making it the best nail brush for French tip applications.
Fan and Ombre Brushes for Seamless Color Gradients
Creating a beautiful color gradient by hand used to require messy makeup sponges, but a dedicated fan brush or ombre brush makes the process seamless. By gently feathering the tips of the bristles across two wet colors, you can create a soft, airbrushed transition without harsh lines.
The Detailer and Dotting Tool for Micro-Details
For painting tiny floral petals, character art, or precise dots, you will need a micro-detailing brush alongside a standard dotting tool. The dotting tool allows you to deposit perfect circles of color without spreading the paint, making simple freehand nail art made easy for absolute beginners.
Bristle Material and Handle Ergonomics: What Competitors Don’t Tell You
When shopping for tools, you will quickly notice a choice between synthetic vs natural nail brushes. This choice dramatically impacts how your tools perform over time. Synthetic fibers, such as nylon or taklon, offer a lot of snap and structural stiffness. This makes synthetic brushes excellent for thick gel polishes and sharp, geometric lines because the bristles do not bend too easily under pressure.
On the other hand, a natural kolinsky nail brush is made from premium sable hair. A natural kolinsky hair tip is highly prized by professional nail technicians because it retains liquids beautifully and offers unparalleled flexibility. If you are working with traditional air-dry nail lacquers or acrylic systems, a natural hair brush ensures a smoother flow of paint.
Beyond the bristles, do not overlook the handle architecture. Many modern brands offer a dual-sided nail art brush set, featuring a brush on one end and a dotting tool on the other, which saves precious desk space. Look for handles with a slightly weighted grip or a triangular shape. A balanced handle stabilizes shaky hands, giving you much better control when executing intricate lines and dazzling details.
Brushing nail art: A Step-by-Step Tutorial for Beginners
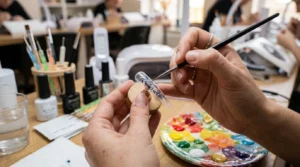
Learning how to use nail art brushes successfully requires practicing a few fundamental hand movements. Before you start painting your actual nails, practice your brush control on a piece of shiny paper or a plastic practice tip to get a feel for the tool.
-
Load the Brush Correctly: Never dip the entire brush into the polish bottle. Instead, place a few drops of your chosen color onto a palette. Gently roll the bristles through the edge of the puddle to coat them evenly, keeping the product focused on the lower half of the hairs.
-
Establish an Anchor Point: To prevent shaky hands, rest your pinky finger firmly on the table or against your opposite hand. This anchor point acts as a stabilizer, giving your fingers a steady pivot point.
-
Control Your Pressure: The harder you press down, the wider the brush line will become. For an ultra-fine line nail art tutorial effect, glide only the absolute tip of the hairs across the nail surface, applying almost zero downward pressure.
-
Pull, Don’t Push: When drawing lines, always drag or pull the brush behind your hand movement. Pushing the bristles forward will cause them to splay outward, creating a messy, uneven trail of polish.
By practicing these simple habits, you will quickly elevate your at-home manicure tips into professional-grade skills.
No Special Tools? How to Master the DIY Dry-Brush Manicure
If you want to experiment with brushing nail art today but do not own specialized tools yet, you can still achieve a gorgeous look. The dry-brush manicure is a popular, simple nail art technique that relies entirely on the regular brush found inside your standard nail polish bottle.
To try this diy no tools nail art method, start by applying a clean base coat and a solid white background color to make your subsequent layers pop. Next, open a contrasting polish color and wipe almost all of the liquid off the hairs against the neck of the bottle. You can even dab the brush onto a paper towel until it looks completely dry.
Gently flick the dry bristles horizontally and vertically across your nail canvas. Because there is very little paint on the tool, it leaves behind a beautiful, distressed, abstract texture instead of a solid block of color. Repeat this process with two or three colors, then seal it all with a glossy top coat to blend the textures seamlessly. It is an eye-catching look that requires zero artistic experience.
The Pro-Tech Maintenance Blueprint: Prepping, Cleaning, and Brushing Nail Art
Your tools will only perform as well as you treat them. To maintain peak precision, you must follow a proper care routine from the moment you purchase a new tool.
How to Prep a Brand New Brush
When you unbox a new tool, the hairs will feel stiff. Manufacturers apply a water-soluble arabic gum starch to protect the shape during shipping. To safely learn how to prep a new nail brush, gently massage the bristles between your clean fingers to break the starch seal, releasing a fine white dust. Once the bristles feel soft, rinse them in warm water to completely dissolve the residual starch before your first painting session.
The Chemistry of Cleaning
The biggest mistake beginners make is washing their art tools with harsh acetone. Knowing how to clean nail art brushes without acetone is vital if you want your investment to last. Acetone instantly strips the natural moisture out of sable hairs, leaving them dry, brittle, and prone to splitting. Instead, clean your gel brushes by wiping them through a small drop of clear base gel or top coat on your palette, which pulls the pigment out safely. For acrylic or traditional polishes, use a dedicated brush cleaner or pure monomer to flush out the color.
The Hot Water Reset
If a synthetic brush accidentally gets bent out of shape in your storage drawer, do not throw it away. You can often learn how to fix frayed nail art brushes by dipping the damaged bristles into near-boiling water for exactly five seconds. The heat activates the memory fibers of synthetic nylon, causing the hairs to snap back into their original, straight alignment. Smooth the hairs back into a sharp point, let them dry completely, and your tool will be ready for your next beautiful session of brushing nail art.
